
How To Clean Your Mechanical Keyboard
It doesn’t matter if you take long showers and scrub your hands like a surgeon each time you’re about to use your keyboard, the simple truth is that it will get dirty over time. Things like hair, dead skin cells, and other things that ideally aren’t part of a keyboard will gather up underneath your keys, and the keycaps themselves will also start to get sticky (due to a build up of sweat and other skin oils) after prolonged usage. It’s therefore a good idea to clean out your keyboard every once in a while. How often you need to clean it will depend on your environment and lots of other factors, but I like to give my main board a thorough cleaning at least once every year. Here’s how I do it.
Note: this method is recommended for most consumer grade keyboards and keycaps. If your keyboard contains any special or unusual materials it’s best to do your research beforehand.
What you’ll need
- A keycap puller
- A couple of Q-tips
- A bowl with warm (not hot) water and dish soap
- A vacuum cleaner (handheld or full size are both fine)
- A towel
- A cleaning cloth/microfiber cloth
Preparation
First things first: unplug your keyboard. I always take mine to another room where there’s more space as well. You can do all of this at your desk but I’d rather not mess around with water and all that dust kicking around when I’m sitting at my precious gaming setup.
Gather all of your tools (it’s always nice to be prepared) and pull out your keycap puller. These things come standard with a lot of boards and they’re not expensive at all, so it shouldn’t be hard to get your hands on one.
Take a photo of your keyboard if it’s a custom or not well-known layout or make sure that you can find a picture of the key layout online. You don’t want to be stranded with a perfectly clean board with the caps on wrong.
Cleaning the keycaps

I keep my ‘keyboard extras kit’ in a little box.
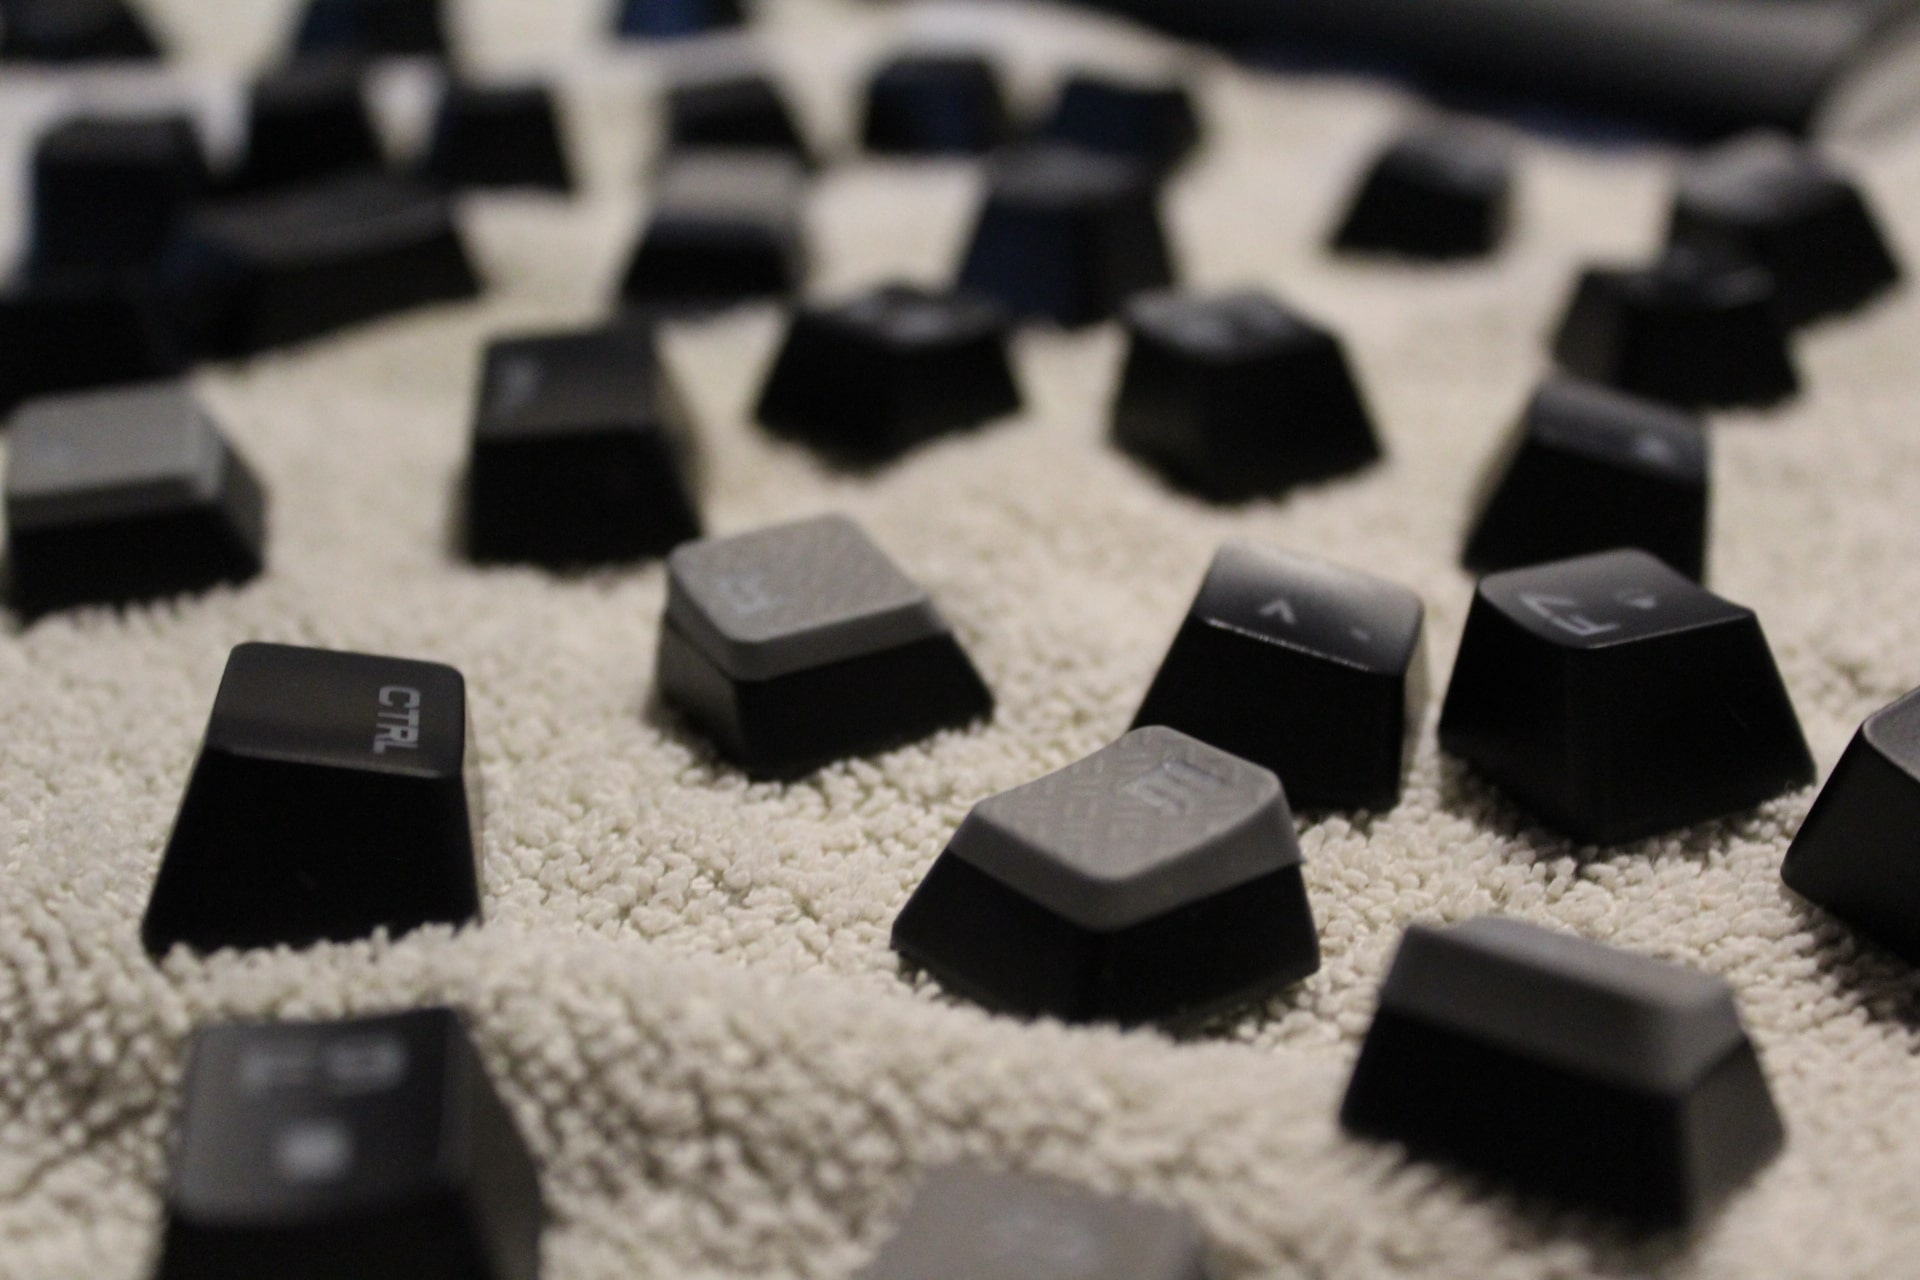
Put that keycap puller to good use and start removing keycaps. Keycaps are super easy to remove so this should be a quick and easy process; just pull straight up and they should come right off. You’ll find that some of the larger keys (space, enter, …) don’t come off and that’s because they’re on stabilizers. If you don’t know how to remove those it’s best to just leave them on there. You can easily manually clean these few stabilized keys.
Once your keycaps are off it’s time to assess the damage. If there’s a lot of skin oil buildup on the caps I personally give them a quick wipe with a cleaning cloth in order to get rid of the more stubborn parts of the grime before dunking them in the bowl of water and dish soap. If they’re not that filthy you can either just clean them off with a cloth or toss them straight into the bowl.
Once the caps are in the bowl I recommend keeping them there for at least a couple of hours so that you can really give the soap the time to work the magic. If you’re just using the cleaning cloth you can lay the caps out to dry on your towel at this point.
Cleaning the board and key plate
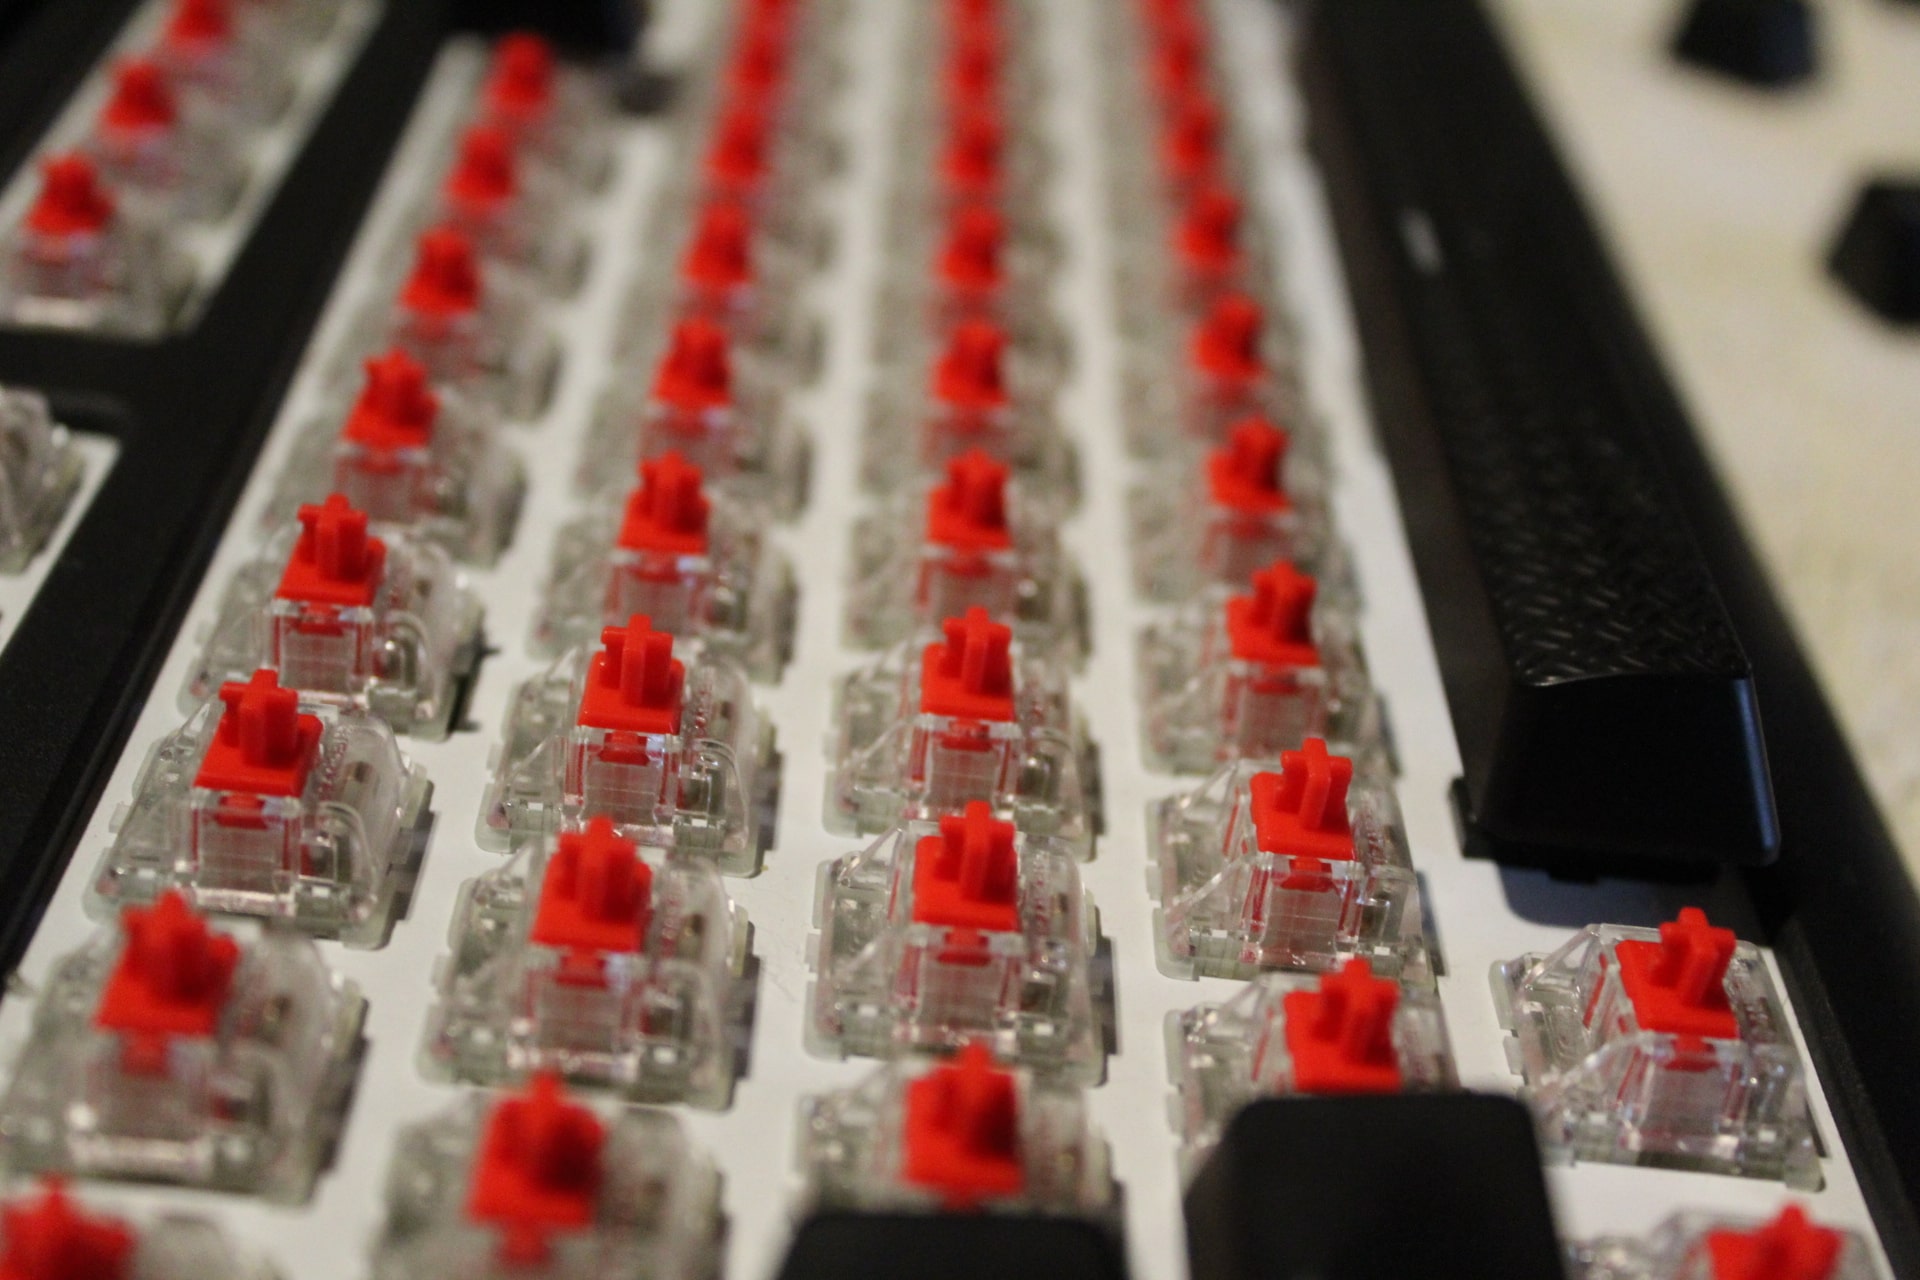 With the keycaps removed you can see just how much filth gathers underneath your keyboard over time. Take your vacuum cleaner and just float it over the board, sucking up the coarser pieces of grime and filth. There’s no need to try and wrestle the mouth of the vacuum between the switches, as that can damage them.
After the initial round of vacuuming, take your Q-tip and lightly make a pass through the ‘lanes’ between the switches to collect any smaller particles. Don’t try to ram the Q-tip against the switches themselves.
If you’re happy with the way the backplate looks then you can leave it at that. If there’s still too much stuff on there you can make another pass with the vacuum cleaner. Repeat this process until you’re satisfied.
After plate cleaning I usually turn the keyboard upside down and give it a few slaps on the back to remove any last tiny particles.
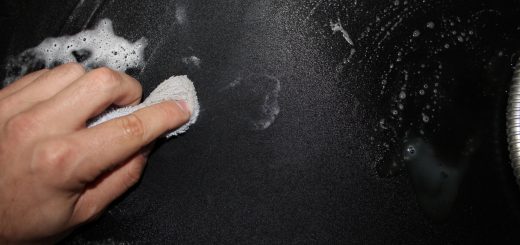
Now it’s time to clean the remainder of the keyboard. Take your damp cleaning cloth and wipe down the entire board (not the plate where the switches are; that’s already been cleaned and you don’t want to get those switches wet), making sure to pay extra attention to the spots where your fingers/hands usually rest, as those will often be the most grimy areas. You can also give the underside of the board a little pass, but since that doesn’t see a whole lot of action it’s not really required to do a very thorough cleaning job there.
Finishing up
 Leave your board somewhere at room temperature to dry. You can cover the empty key areas if you’re in a dusty area if you don’t want that part to get dusty straight again straight away. Now it’s just a matter of waiting for everything to dry before assembling the keyboard back together.
If you chose to submerge your keycaps in the soapy water it’s absolutely instrumental that you take your time to let them dry out once you take them out of the bath after a few hours. I usually place them same side up on a towel, turning them after a couple of hours and repeating this process until they’re completely dry.
Concluding
Cleaning a keyboard isn’t the most joyful job in the world, but the feeling you get when you get to use that brand new feeling board will more than make up for the rather tedious task of cleaning it. Your gaming gear, just as any other type of performance gear, needs to be maintained properly in order to get the most use out of it, so make sure to clean your stuff every once in a while. Click here to learn how to clean your mousepad.
Enjoy your clean mechanical keyboard!


This is a great tutorial – thanks for sharing! I’ve also used compressed air to help get additional crumbs and dust out from the keyboard.
Thanks for the kind words! I do love compressed air myself for those little ‘quick maintenance moments’.
Thank you for presenting such a comprehensive contrast.
I liked reading what you wrote. I’m looking forward to your post coming up soon. Best wishes for your next upgrade. This essay is very interesting and helpful.
Thanks for the comprehensive contrast.
Helpful, I will try.
I’ve also used compressed air to clear away any remaining crumbs and dust from the keyboard.
I recommend soaking the keycaps in warm water with just a drop of dish soap for about 15 minutes to get rid of the grease or gunk on the keycaps
Maintaining the cleanliness of your mechanical keyboard is crucial for ensuring optimal performance and longevity. While following these comprehensive cleaning instructions, consider incorporating IoT vehicle tracking solutions for efficient and timely delivery of essential cleaning supplies. With IoT vehicle tracking technology, you can monitor the delivery status in real time, ensuring that the necessary tools, such as keycap pullers and cleaning cloths, arrive promptly. Additionally, implementing IoT vehicle tracking can streamline the supply chain process, enabling you to restock cleaning supplies hassle-free, ultimately contributing to a seamless and well-maintained cleaning routine for your mechanical keyboard.
Tried this method today and my keyboard looks and feels brand new. The keycap puller was a game changer. Thanks for the detailed instructions.
Affordable Window Washing Services in Fresno CA
infinite craft – A Tapestry of Stories: Weave a tapestry of stories unlike any other. Craft interactive narratives, where players’ choices shape the outcome, and share your unique vision with the world.